Trick-or-Treat Packs
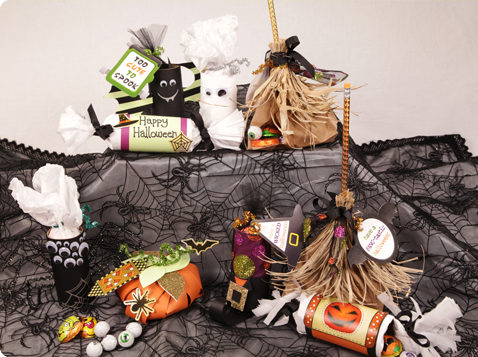
Spiders, bats and mummies ... oh my! The kids are putting on their costumes to collect yummy treats from the neighborhood. Be the coolest house on the block with fun Trick-or-Treat Packs full of delicious Palmer candy.
Supplies
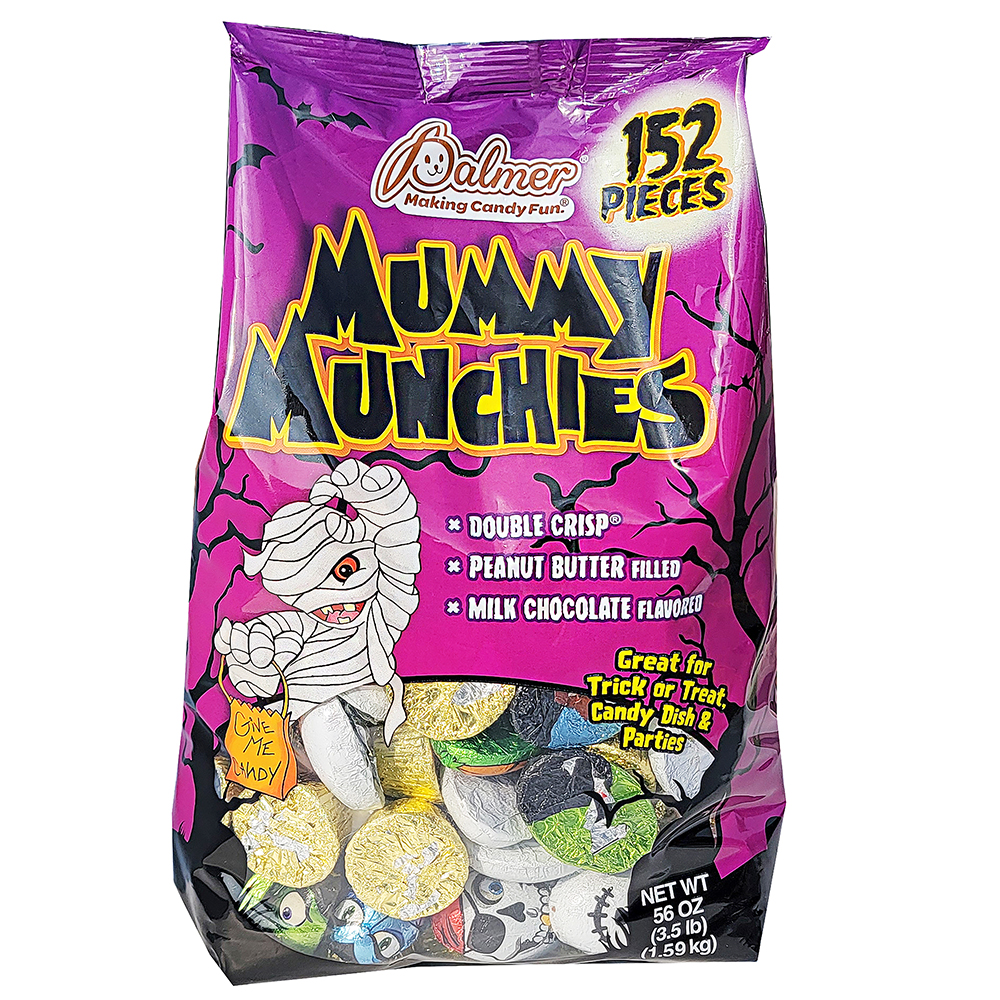
- 1 bag of Palmer® Mummy Munchies
- Halloween Tag Sheet (PDF)
- 1 Halloween-themed ribbon spool (wide)
- 1 black ribbon spool (thin)
- 1 pack of natural raffia
- Pencils
- Toilet paper tubes & toilet paper
- Color craft paper & tissue paper
- Small paper bags
- Googly eyes (found in craft stores)
- Pipe cleaners
- Tape/glue
- Markers
- Scissors
 Makes bat, spider, mummy, witch boot and broom, pumpkin, and generic packs.
Some supplies are dependent upon how many of each type of pack you decide to make.
NOTE: Children should be supervised by adults when creating this craft
Directions
PART A: The Bat, Spider, Mummy, Witch Boot, and Generic Packs.
Step 1
Measure and cut out the main color paper for your tube creations to fit completely around the tube (white for mummy, black for bat and spider, and purple on top half, orange on the bottom half for the witch boot). Cover each generic tube with tissue paper leaving 2 inches extra extending from either side of the tube. Wrap thin strips of toilet paper around the mummy tube to create the look of wrappings. Measure and cut your Halloween ribbon to be used as the stocking of the witch’s boot that goes overtop the purple paper section and cut a rectangular strip 2″ wide of black paper for the top of the boot (goes overtop the orange paper). Fold down the top corners where the paper meets on the front to expose the orange paper beneath.
Step 2
Cut out your bat wings/ears and attach to the bat tube. Poke 4 holes on either side of your spider tube and lace pipe cleaners through from one side to the next to make the spider legs. Cut out squares to give the look of a buckle on the witch boot, attaching to the front under the area where you folded down the corners. This will hide the rest of your paper seam.
Cut a long strip of black paper that starts at one end the same width of the tube and then thins to a point at the other end. Using a pencil, curl the thin end in toward the thicker end and glue to the underside of the witch boot to make the foot area. Glue your googly eyes to each creature and draw on the mouth of the bat and web of the spider.

PART B: The Broom Pack and the Pumpkin Pack.
Step 3
Fill a small brown bag with candy. Cut about 4.5 inches of the bag off from the top. Cut off some raffia and gather the bag up at the top, wrapping the raffia around it. Place a pencil in the middle and tie tightly together with a pipe cleaner. Add ribbon and tags to decorate. Repeat step to create the desired amount of broom candy packs.
Step 4
Cut out about 10–12 strips of orange paper 1 inch wide and 8.5 inches long. Fan out into a circle and staple or glue in the middle. Start gathering each strip in the middle, gluing as you go along. Add candy in the middle and close up so the candy is hidden inside.
Cut out some leaves, glue them and a pipe cleaner for a stem to the top of the pumpkin to cover the glued opening. Add a fun tag. Repeat step to create the desired amount of pumpkin packs. Gather up all your fun Trick-or-Treat Packs and have fun handing them out to the kids in your neighborhood. The best part about this craft is that you can also use them as favors or use the tube creatures to hold your napkins for a Halloween Party. Be creative and have fun!


