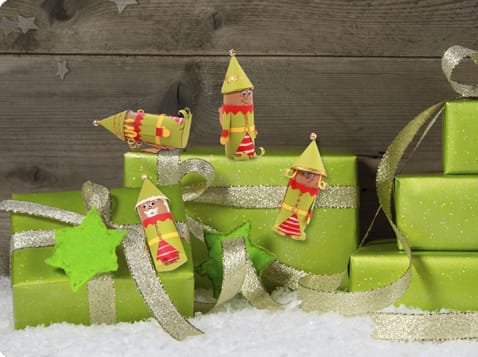
Candy Elves Gift Tags
The Christmas elves have snuck out of Santa’s shop to bring joy to every holiday present. Filled with yummy Palmer candy, these elves say Merry Christmas to all!
Supplies
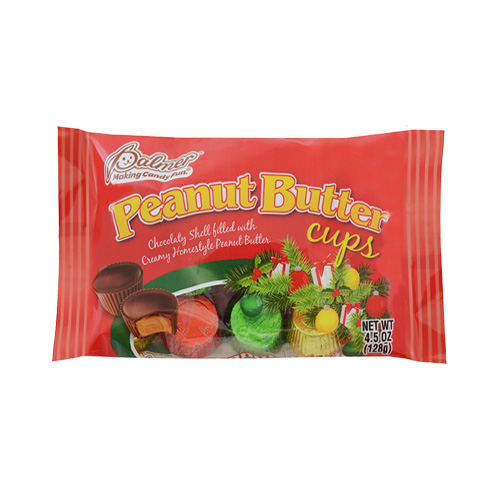
- 1 bag of Palmer® Peanut Butter Cups
- 4-5 toilet paper tubes
- 2 sheets of large, green scrapbook paper
- 1 sheet of red and yellow scrapbook paper
- Googly eyes
- 4-5 bells
- 4-5 small clothes pins
- White and gold glitter acrylic paint
- Glue, scissors, ruler and marker
NOTE: Children should be supervised by adults when creating this craft.
In this Craft:
Directions
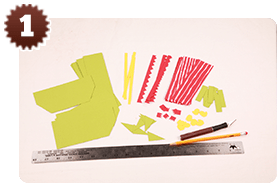
Step 1
Cut out:
(Elf jacket) 4-5 strips of 3” x 5.75” green paper, removing a 1” x 1.5” triangle from the bottom corners of each strip.
(Elf pants) 4-5 strips of 1.75” x 5.75” red paper, painting white stripes on one side.
(Elf collar) 4-5 strips of 1/2” x 6” of red paper, removing small triangular pieces along the length of each.
(Elf hat) 4-5 circles of 4.5” diameter. Make a 2.25” cut from the center of the circle to the outside edge.
(Elf arms) 4-5 sets of 2 strips 1/2” x 1-1/2” of green paper.
(Elf sleeve trim) 4-5 sets of 2 pieces 1/2” x 1/2” of red paper. Remove small triangular pieces along bottom.
(Elf mittens) 4-5 sets of 2 pieces 3/4” x 3/4” of yellow paper. Shape into mittens.
(Elf belt) 4-5 strips of 1/4” x 6” yellow paper
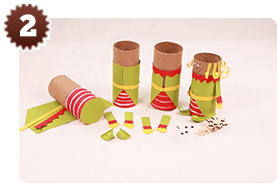
Step 2
Seal off the bottom of the tube with some paper. (Alternative: Fill a sandwich bag with candy and place inside of the tube.) Wrap the striped red paper around the bottom of each tube and glue in place, closing in the back. Wrap the green jacket and glue in place closing in the front. Glue the belt around the middle section closing front and the red collar around the top of the green jacket closing the back.
Glue the arms together – first with the mitten and then red sleeve trim on top. Glue the arms in place. Using the large triangle you removed from the jacket, roll the ends with a pencil and glue to the base of the elf for the feet.
Add eyes and draw on a nose and mouth. If you would like a girl elf, cut 2” thin strips of yellow paper, curl the ends with a pencil and glue on the top of the tube.
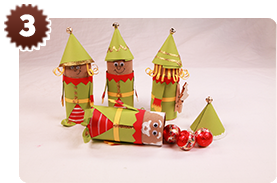
Step 3
To make the hats, twist the circle pieces to form a point and keep the base large enough to span the width of the tubes. Glue in place.
Decorate each tube and hat with the white paint and gold glitter paint. Allow to dry. Add a bell on top of each hat as well. Glue a clothes pin on the back of each tube. Fill with candy, attach the hat on top with a little glue and write a fun message on the bottom. Clip onto the ribbon of any gift for a fun Candy Elf Gift Tag.